Homemade Watercolor Paints
 Jack has become quite the little painter this summer. He loves to mix colors and create new ones, dip items OTHER than paintbrushes into the paints (like matchbox car wheels, the end of a plastic hammer, a rubber ball, etc.). It is fun to see him be creative but his paints have dwindled quickly from so much use. We got him this fabulous watercolor set by Melissa & Doug but I can't afford to buy a new one every couple of weeks. Sooooo I decided we would make our own watercolor paints. After researching online I found out how easy they are to make, especially after seeing Martha's video tutorial.
 Here is what you need: baking soda, white vinegar, light corn syrup, cornstarch, food coloring, a container to make your paints in (plastic egg cartons work great), and wooden skewers or popsicle sticks for mixing
 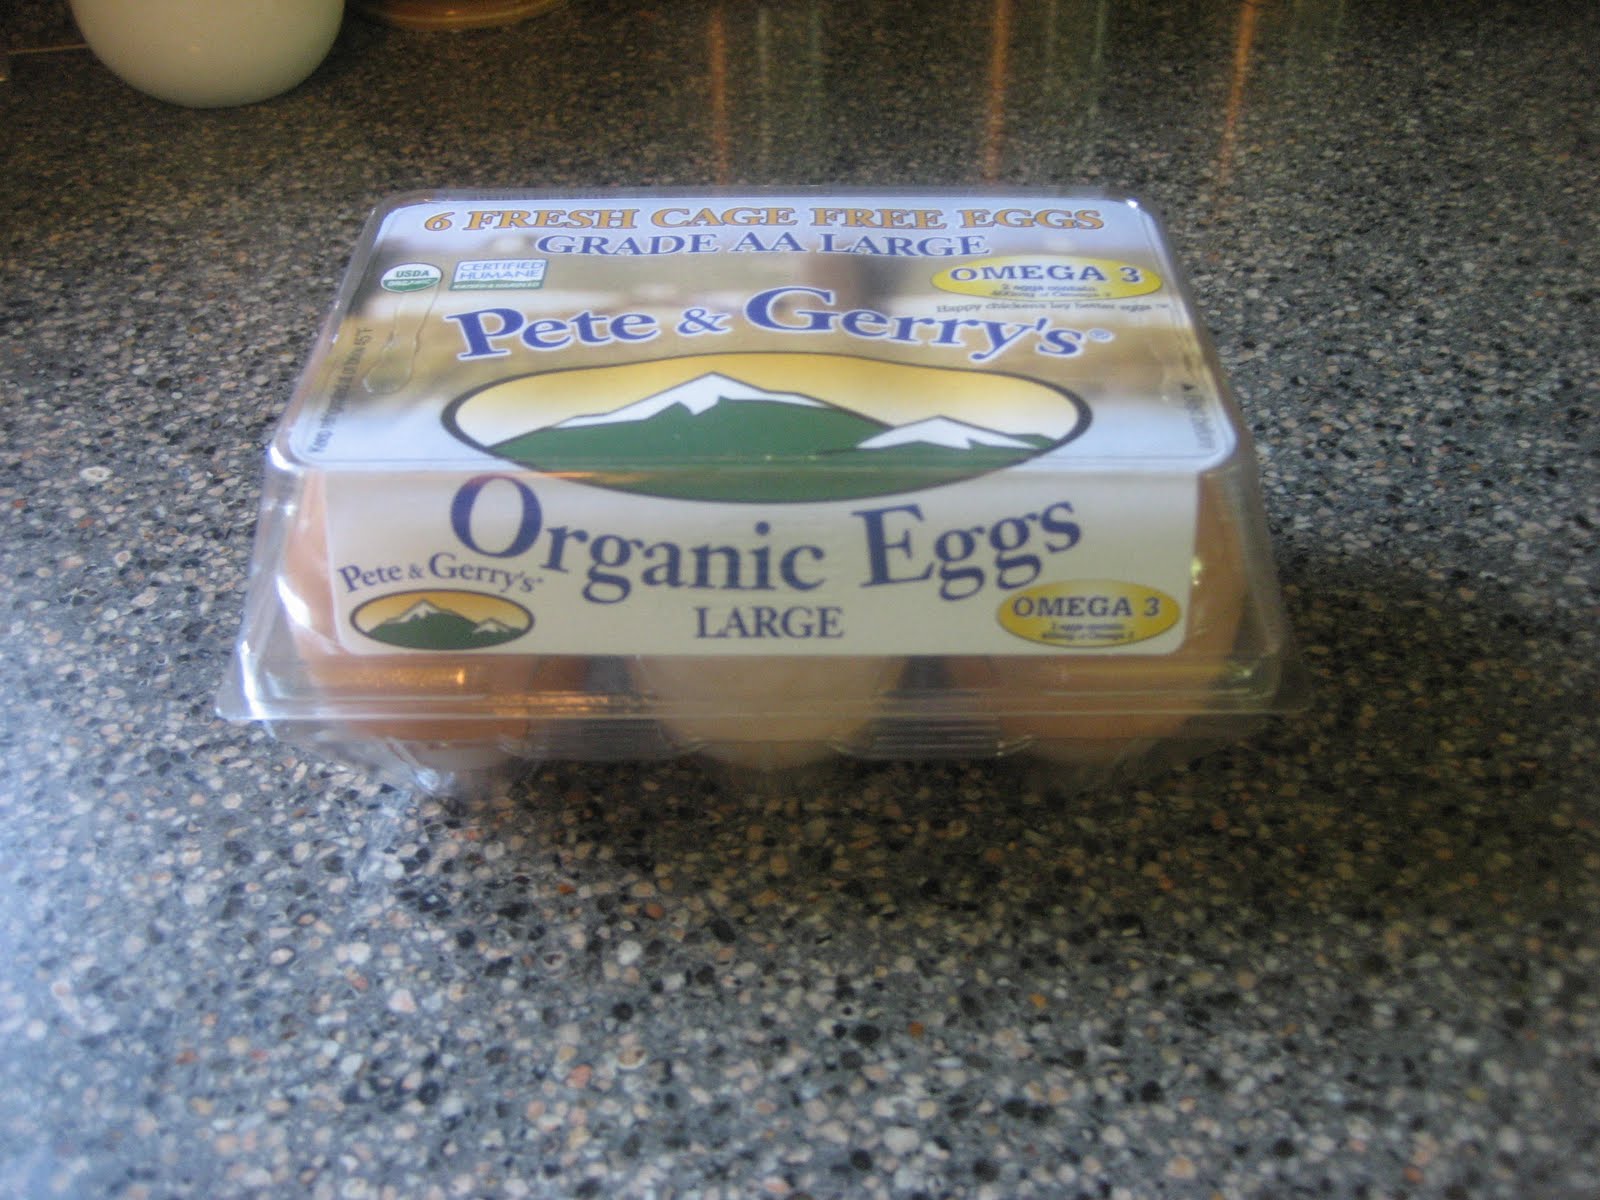 The half dozen plastic egg crate is perfect for making your paints in.
 And the bonus is that you can get two sets out of one plastic half dozen egg crate, just cut to separate.
  First, 4 TBSP of baking soda with 2 TBSP of white vinegar. Your kids will love to see the fizz!
 Once the fizzing stops, add 1/2 tsp of light corn syrup and 2 TBSP of cornstarch. Mix well until all the cornstarch is dissolved.
 I mixed my concoction in a 2 cup measuring liquid measuring cup to make this step easy. Pour into your egg container. This recipe will make enough to fill 6 egg cups 3/4th of the way. I made a second batch for the other container.
 Now the fun begins! Using your food coloring make your paint colors. Drop a few drops of food coloring and mix with your wooden skewer or popsicle stick.
 Mix really really well. It will take about 60 seconds to really mix the color in and reach a uniform consistency.
 Now the hard part. You HAVE to let this sit and cure for up to two days.
 You can see how liquidity and wet the mixture is. You want to achieve complete dryness before they are ready to use.
 This is what it should look like after a couple days. Now your little painter can dip a brush into water and paint away!
 The colors were vibrant and showed up well onto paper. I was skeptical but this really worked well! And the nice thing is that the egg partitions are deep and these will last much longer than the sets you buy. And you can have fun making your own color combinations! Here are a few suggestions from Martha:
Color Recipes
•Reddish pink: 10 drops red
•Orange: 1 drop red, 6 drops yellow
•Yellow: 5 drops yellow
•Leaf green: 3 drops green, 7 drops yellow
•Sea blue: 5 drops blue
•Violet: 4 drops red, 2 drops blue
Have fun!


Sounds like Jack is like Carissa when it comes to painting! They must be cousins or something. I will definitely try to make this! Cool idea!
ReplyDeleteThis looks really cool! Can you use them wet or only dry? Kate loves the painting but goes through phases of not doing it. Also I usually get the watercolors at the Christmas tree shop for $1, but only b/c we live so close to one.
ReplyDeleteThis is so cool! way better than the cheap 99p paints that don't last 5 minutes and don't show on anything but the kids' clothes ^^ A must- try tutorial, thank you!
ReplyDeleteI made these paints last night and tried them out today, and they are AWESOME!!!! So AWESOME! I'm doing up a post on my blog about them because a lot of my facebook followers have asked for the recipe. I'm linking back to you. :) Thank you so much for such a fabulous recipe!!
ReplyDeleteWhat an awesome idea! Thank you for sharing!
ReplyDelete